
Windows Hello Passkey Setup
Introduction
Windows Hello lets you sign in securely to your Emory account using a PIN, fingerprint, or facial recognition, so you do not have to enter your password each time. When paired with Duo Verified Push, it provides strong multi-factor authentication using a passkey stored on your Windows device.
This guide walks you through setting up Windows Hello and linking it with Duo. The process takes just a few minutes and only needs to be completed once per device.
Step-by-step instructions
Step 0 - Connect to the Emory network
Before beginning Windows Hello setup, you must be connected to the Emory network (wired or Emory Unplugged wireless) or connected to the Emory VPN.
Step 1 - Open Windows Settings
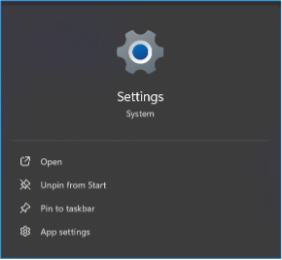
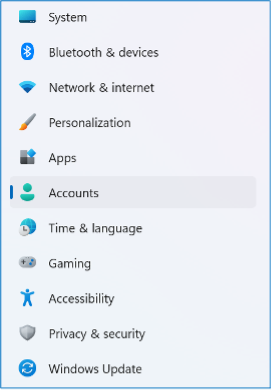
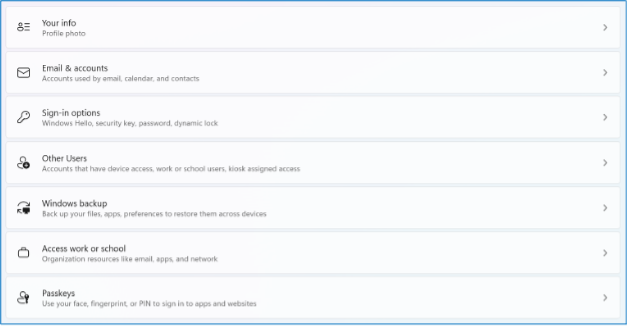
Open the Start menu and select Settings > Accounts > Sign-in options. This is where you configure how you sign in to Windows and manage Windows Hello security settings.
Step 2 - Choose a Windows Hello sign-in method
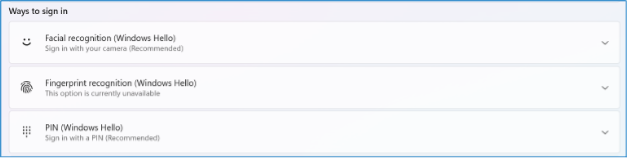
Under Ways to sign in, select one of the available Windows Hello methods:
- PIN (recommended) - simplest and most widely supported.
- Fingerprint - if your device has a fingerprint reader. This guide does not cover the fingerprint steps; follow the prompts on your device to proceed.
- Face recognition - if your device includes an infrared camera.
If you do not see the Windows Hello options on your device, contact the right support team: Emory University users should reach out to their Local IT desk, and Emory Healthcare users should contact the Healthcare Service Desk.
Select Set up and follow the on-screen prompts.
Step 3 - Create a Windows Hello PIN
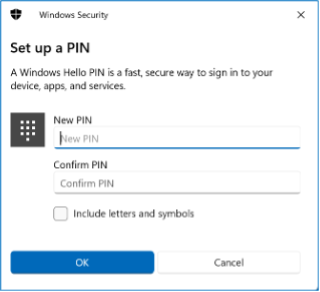
Enter a secure PIN that you will use to unlock your device. Your PIN is stored locally and never shared with Microsoft or Duo. This step enables your device to generate a passkey that integrates with Duo authentication. Click Set up.

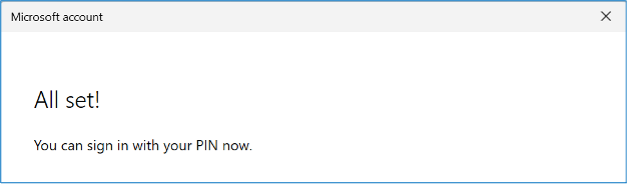
Click OK on the next screen.
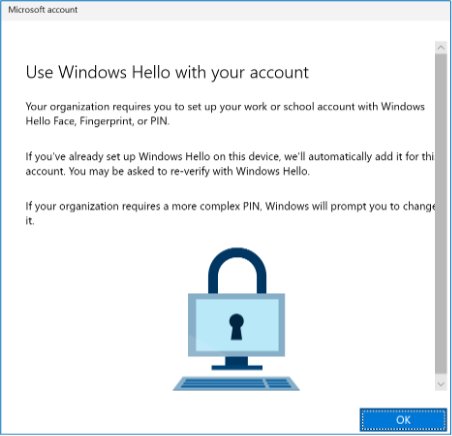
Step 4 - Duo verification
You will be asked to authenticate with Duo before configuring Windows Hello.
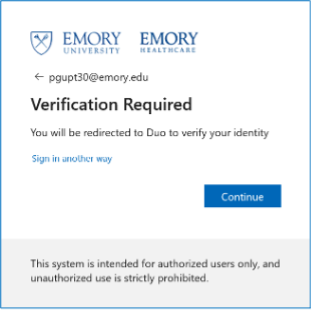
A 3-digit verification code will appear, and you will get a push notification on your Duo Mobile app to enter this code.
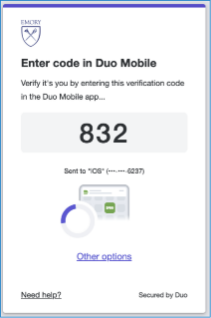
Enter the verification code in your Duo Mobile app when prompted.
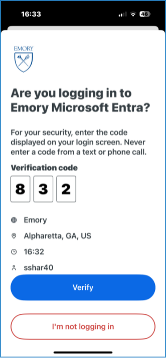
Step 5 - Set your Windows Hello PIN
Enter a secure PIN:
- Use 6 or more digits.
- Your PIN stays on your device - it is never sent to Microsoft or Duo.
Once complete, your Windows device can generate a passkey for Duo authentication.
Changing your PIN
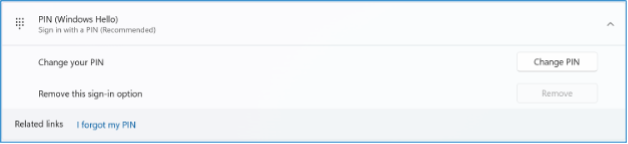
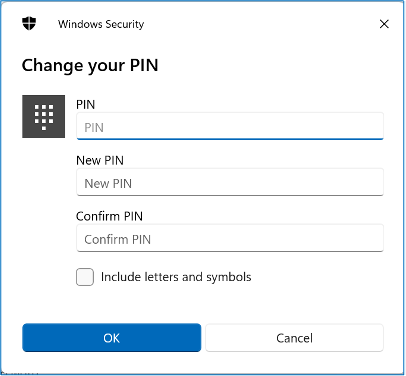
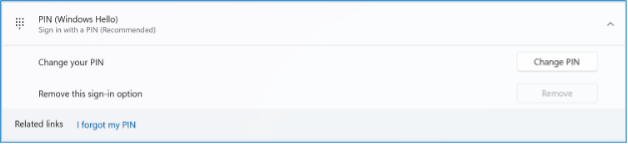
If you need to change your PIN after it is set, follow these steps. Click Change PIN.
Then enter your old PIN and your new PIN below.
PIN reset
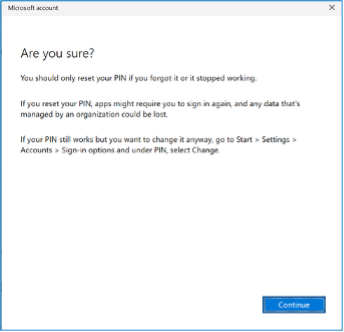
If you forget your PIN and need to reset it, click I forgot my PIN below and follow the on-screen instructions.

Facial recognition
Use this section to set up Windows Hello Facial Recognition (a passwordless sign-in option) on an Emory-managed Windows 11 device. You will need a Windows Hello-compatible camera and your Windows Hello PIN (you will be prompted for it during setup).
Step 1 - Start facial recognition setup
Open Settings > Accounts > Sign-in options. Under Ways to sign in, expand Facial recognition (Windows Hello) and select Set up.

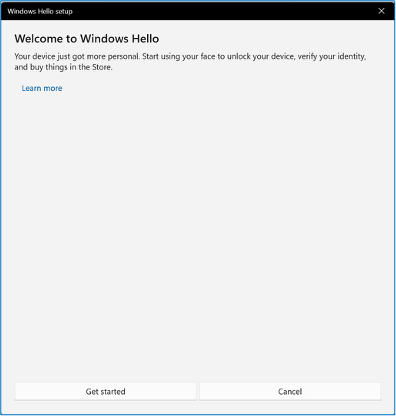
Step 2 - Launch the Windows Hello setup wizard
In the Windows Hello setup window, select Get started.
Step 3 - Confirm your identity
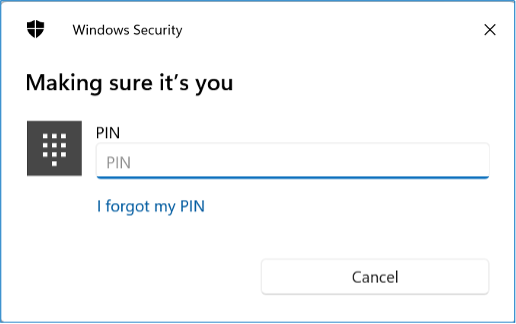
When prompted, enter your Windows Hello PIN. If you do not remember it, select I forgot my PIN, follow the prompts to reset it, then return to setup.
Step 4 - Complete the face scan
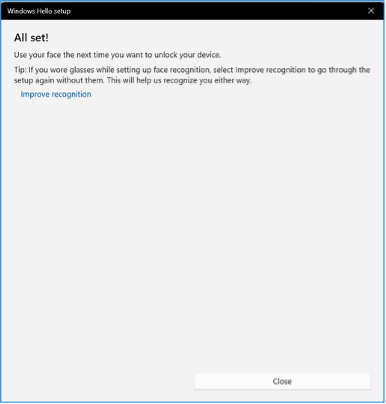
Follow the on-screen prompts to position your face in view of the camera until setup completes. When you see All set!, facial recognition is configured. Optionally, select Improve recognition to add another scan (for example, with and without glasses). Select Close to finish.
Step 5 - Review optional settings
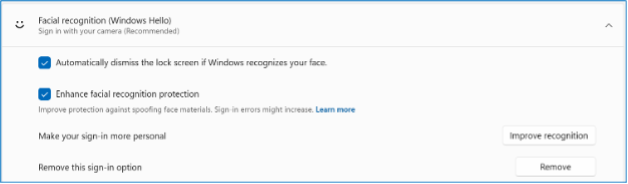
Back in Sign-in options, expand Facial recognition (Windows Hello) to review settings.
- Optionally enable Automatically dismiss the lock screen to go straight to your desktop after your face is recognized.
- Optionally enable Enhance facial recognition protection for stronger spoofing protection (may increase sign-in errors in some lighting).
- Use Improve recognition to re-run the scan, or Remove to disable facial recognition.
Testing facial recognition
Press Windows key + L to lock your device, then look at the camera to sign in. If face sign-in fails, use your PIN (or password, depending on device policy). When an app or website prompts you to use a passkey, choose Windows Hello and complete the prompt (face scan or PIN).